M. Waleed Sheikh2024-07-25T08:47:02+00:00
Table of Contents
ToggleUnifi is created to make IT simpler and be in everyone’s range. The central infrastructure of unifi is to transform IT & communication through networking services and solutions. Unifi provides state-of-art networking solutions for organizations and aims to deliver a swift end-user experience. The IT community is widely accepting unifi network setup, and it is one of the globally accepted communication solutions.
From its name, it is mentioned that it delivers unified security, networking, and communication solutions for business and commercial levels. Unifi works either directly or via third parties.
Unifi furnishes Web collaboration, integration of software-based enterprises, and mobility features in over 100 countries.
Along with the streamlined services and swift user experience, unifi possesses a remarkable reputation in FMC.
UniFi Apps
The UniFi apps and products are built to create a secure and smart ecosystem of networking that serves the users in its best capacity. The Unifi network setup facilitates the technological hunger of business and offers various IT services and solutions.
a) UniFi Network
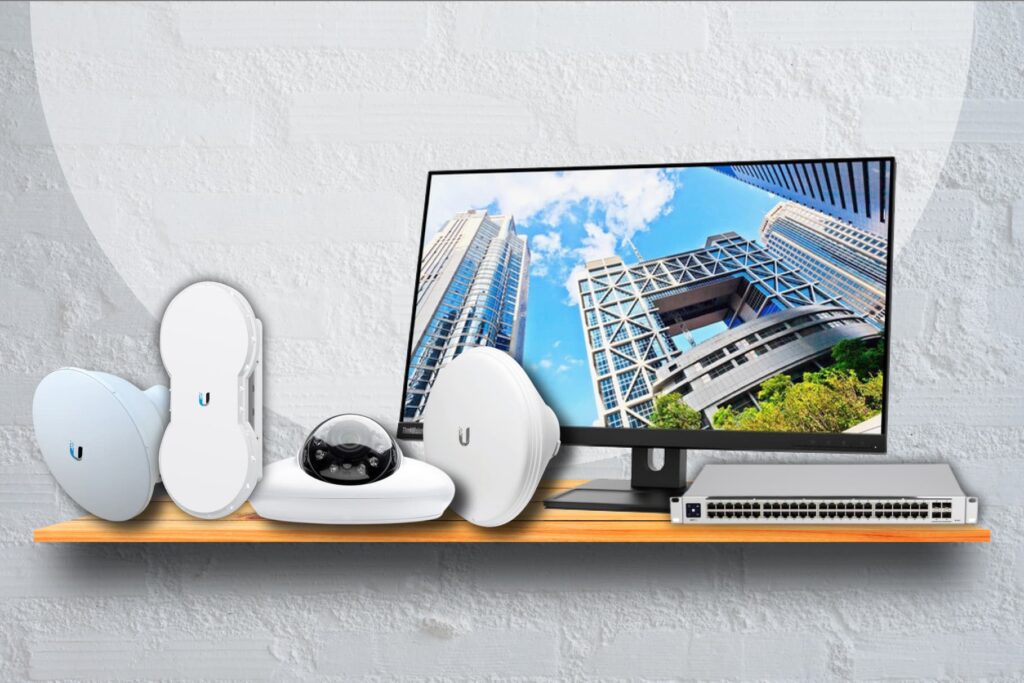
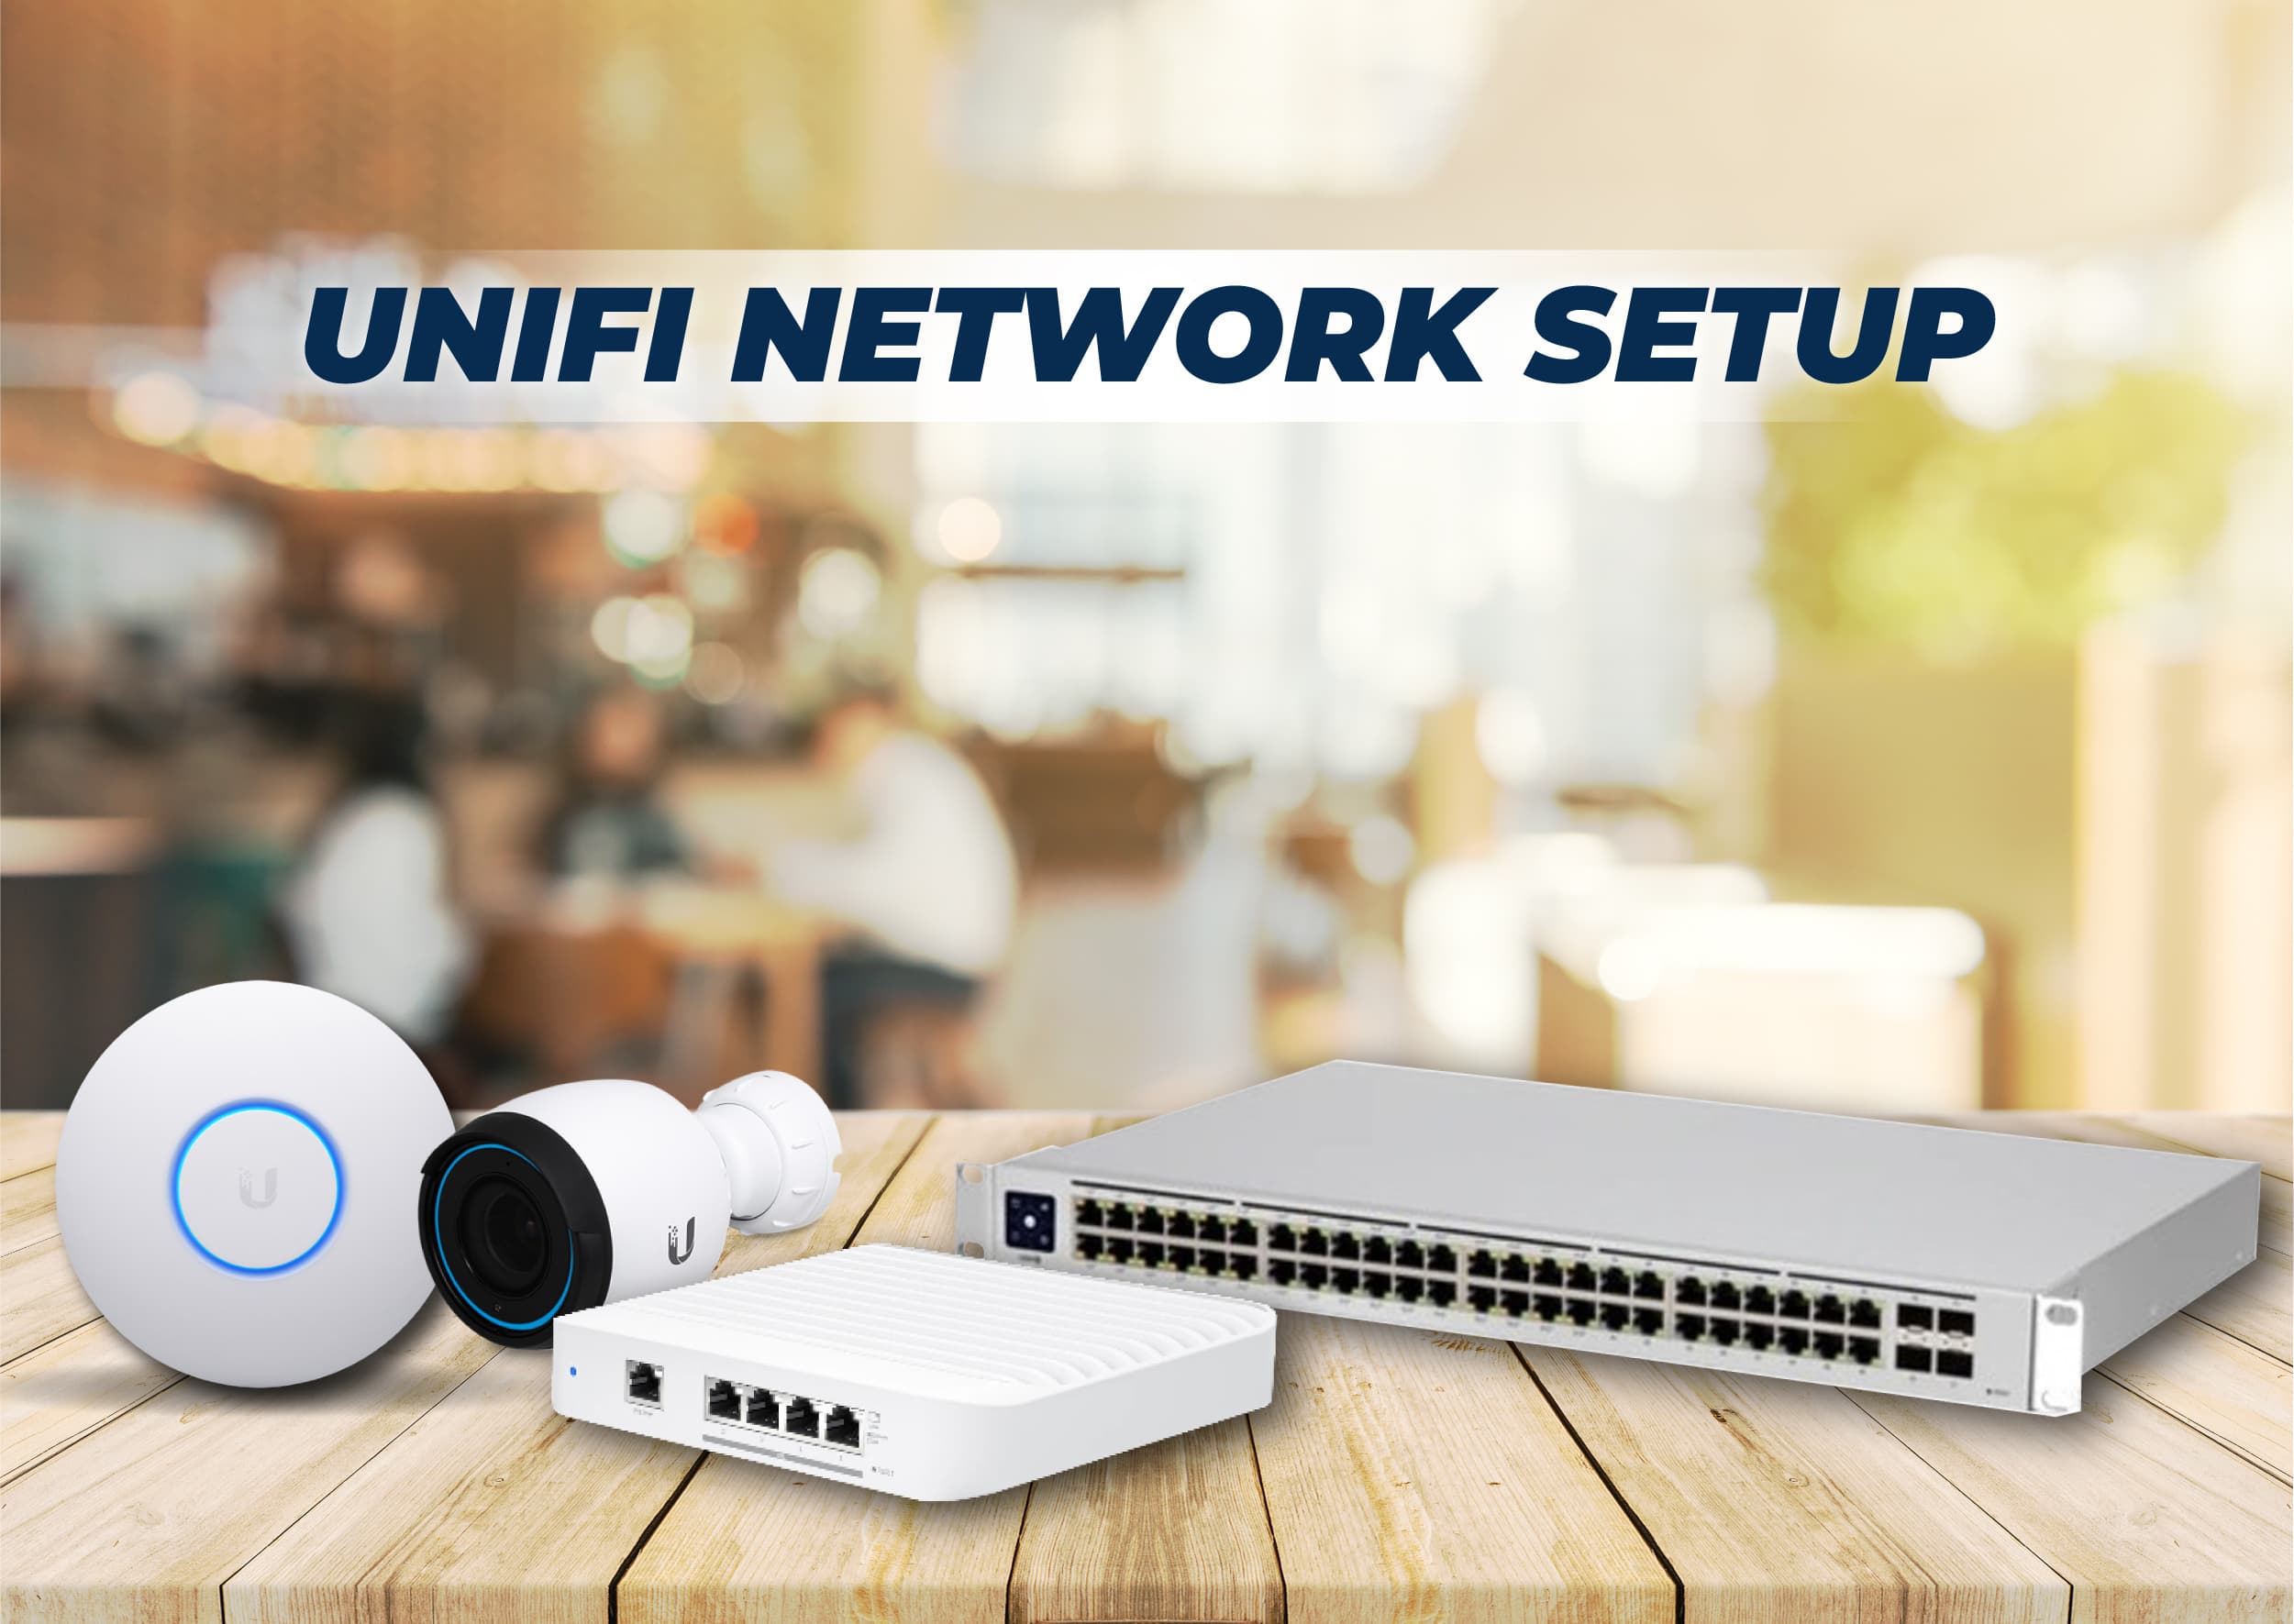
Unifi is an ecosystem of access points, routers, switches, cameras, networking devices, controllers, access points, and security cameras. It allowed the user to create a secure and connected habitat with a solid network and controlled monitored Access.
b) UniFi Protect
Unifi provides uninterrupted CCTV surveillance solutions for residential and commercial use via its smart security gateway, ensuring your privacy with efficient bandwidth utilization.
c) UniFi Talk
With a voice-over-internet protocol affordable telephone system, unifi provides a communication setup that runs over ethernet and improves the functionality of the overall communications network at your home or office.
d) UniFi Access
Unifi Access is a state-of-the-art access control system for commercial buildings and offices. Unifi provides electric strikes, magnetic locks, smart sensors, access control accessories, alarms, and data records. Setting up a Ubiquiti access point makes your place protected and tech updated.
UniFi Operating System
Unifi operating system, also known as unifiOS; hosts unifi application suites. Ubiquiti app setup recommends running unifi applications on the unifi OS console. The unified console is specifically designed according to the needs of unifi apps. The unified console optimizes your CPU and memory and protects data security and privacy.
Ubiquiti Products and Brands

The Ubiquiti setup product line contains a mini-PCI radio card series followed by other Ubiquiti wireless networks.
Ubiquiti home network setup includes Amplifi – Whole Home Wifi, EdgeMAX – Switching, Unifi – Access Points, Unifi – Routing & Switching, Unifi – Cameras, EdgeMAX – Routing, airMAX – CPE/AP/Antennas, airFiber – Radios/Antennas and accessories.
UniFi – Setting Up a UniFi OS Console
You can set up a unifi OS console using the following ways:
- Via Mobile Application
- Via Web Applications
- Offline Console Setup without a Ubiquiti account
UniFi OS Console Setup Via Mobile Application
Let us discuss how we can set up a mobile app console.
To set up a UniFi OS Console using a mobile app, follow these steps:
- Download and install the UniFi Network app from the App Store or Google Play Store.
- Ensure your device is connected to the same network as the UniFi device you want to set up.
- Open the UniFi Network app and tap on the “Discover” button. The app will scan for UniFi devices on the network.
- Once you discover the UniFi device, tap on it to open the device details.
- From the device details, tap on the “Console” button to open the UniFi OS Console.
- Use the console to configure your UniFi device, manage network settings, and perform other tasks.
Note: The UniFi Network app is available for iOS and Android devices. The UniFi OS Console provides access to advanced settings and configuration options for your UniFi device.
UniFi OS Console Setup Via Web Application
To set up a UniFi OS Console using a web application, follow these steps:
- Connect your computer and UniFi device you want to set up with the same network.
- Type the UniFi device’s IP address into a web browser’s address bar. The default IP address is “192.168.1.1”.
- Enter your login credentials to access the UniFi Controller. The default username is “ubnt,” and the default password is “ubnt.”
- Once logged in, click on the “Devices” item in the left-side menu.
- Find the UniFi device you want to set up and click on it to open the device details.
- Click on the “Open Console” button from the device details to open the UniFi OS Console.
- Use the console to configure your UniFi device, manage network settings, and perform other tasks.
Note: The UniFi OS Console provides access to advanced settings and configuration options for your UniFi device. We recommend using a web browser that supports modern web technologies such as Google Chrome, Mozilla Firefox, or Microsoft Edge.
Offline Setups Without a Ubiquiti Account
We recommend using a Ubiquiti account when setting up your console. Some benefits include the following:
- Secure network and device access from anywhere in the world.
- Automated Cloud backups.
- Early Access product availability.
- Pre-configured email notifications for convenient console monitoring.
- If you still prefer to proceed without a Ubiquiti account, you can do so with later versions of UniFi OS (V2.3.10 / V1.11.0 and later).
- If your console is running an older version, please see Advanced Update via SSH for instructions on installing the latest UniFi OS version before setting up your console.
Common Troubleshooting
Here are some common troubleshooting steps for the UniFi OS Console:
- Ensure that your computer has the same connection to the same network as the UniFi device.
- Ensure that the UniFi device’s IP address is correct and reachable from your computer.
- Check that your login credentials are correct and that you have access to the UniFi Controller.
- Clear browser cache and cookies, or use a different web browser to access the UniFi OS Console.
- Restart the UniFi device and try reaccessing the UniFi OS Console.
- If you can still not access the UniFi OS Console, try resetting the UniFi device to its factory default settings and setting it up again from scratch.
- If you continue to experience issues, contact the Ubiquiti support team for assistance.
Note: Always have a backup of your UniFi device configurations before performing any troubleshooting steps to avoid losing important data.
How to Install UniFi on Windows?
Here are the steps to install UniFi on Windows:
- Go to Ubiquiti’s download page: ui.com/download.
- In the UniFi section, you will find the ‘Software’ section while scrolling down.
- Find the Windows install version, and click the download icon.
- Click ‘I Accept.
- Download the File.
- Go to the downloads of your system and find ‘The uniFi-installer file.
- Run the file.
- You will see a pop-up window; click ‘Yes’ to allow UniFi to run.
- In the next window, click ‘Install.’
- If you do not have Java, you will need to install it.
- Once Java is installed, run through the UniFi installer, which will proceed to install the UniFi Network Application on your PC.
- Once finished, click on ‘Finish.’
- For around a minute, the UniFi application will start initializing.
- Once UniFi has started, click the ‘Launch a Browser’ button to begin setting up UniFi.
- After a few seconds, you’ll then be able to set up the UniFi controller. You may need to adjust Windows Firewall settings to adapt devices to the local controller.
Alternatives
If you do not wish to contrive your UniFi Controller, you can purchase a Cloud Key or utilize the new Unified Dream Machine (UDM). The Unified Dream Machine combines the UniFi Controller, USG, Switch, and AP into one device.
FAQs
To set up a UniFi network, you will need the following components:
- UniFi Access Point (AP) or Switch
- UniFi Router
- UniFi Network Controller
- Ethernet cables
- PoE (Power over Ethernet) adapter or switch
- Power supply
- A computer or cloud instance
- Internet connection
Here are the steps to set up a UniFi Network Switch:
- Connect the switch to your network using Ethernet cables.
- Connect the unified network switch to a power source or a PoE injector.
- Download the UniFi Network Controller software from the Ubiquiti website and install it on a computer or cloud instance.
- Launch the UniFi Network Controller from the Windows Start menu or the desktop shortcut.
- In the UniFi Network Controller, click on the “Devices” section and click on the switch to adopt it.
- In the UniFi Network Controller, click on the “Switches” section and select the switch you just adopted. You can then configure the control by setting up the VLANs, port profiles, and other settings as needed.
- Once you have made your desired changes, click the “Apply Changes” button to apply the configuration to the switch.
- The UniFi Network Controller allows you to monitor the switch and see its performance and status. You can also change the switch configuration as needed from the UniFi Network Controller.
Note: Before adopting the switch, ensure that the switch and the computer running the UniFi Network Controller are on the same subnet and can communicate. Also, ensure that your UniFi Network Controller runs the latest firmware to avoid compatibility issues.
It depends on the individual’s needs and preferences. If you have an extensive home network with many devices and need advanced network management and security features, Ubiquiti equipment may be a good fit. However, if you have a smaller home network with basic needs, Ubiquiti equipment may be overkill, and a more straightforward and less expensive solution may be more suitable. Ultimately, it’s best to assess your specific requirements and make an informed decision based on your needs and budget.
To set up an unifi home network, Ubiquiti wireless network, Ubiquiti access point, Ubiquiti network setup, or unifi radio optimization, get the professional help of a NetraClos tech specialist and install the best network setup for your place. Dial us at +1 647-725-9693 and get the right help right away.

